Remember the name of that bistro in Paris?
When I travel I like to keep a log of the places visited as well as ensuring my photos are adequately geotagged. I started some years ago when I got a handheld GPS to continuously log my location and then using a desktop software like GeoSetter to embed the geolocation information into my photos EXIF metadata with the GPS location the photo was taken.
Nowadays it is much easier, as my smartphone photos are automatically geocoded with GPS location information at the moment the image is taken. Still, using GeoTag Photos Pro, I keep a track of my movements for later embedding location info to the photos taken with my SLR camera which lacks GPS functionality.
Yet, GPS coordinates alone may not suffice in keeping a log of the place where a photo was taken. So on a recent trip to Mexico, I also logged my locations using Foursquare’s Swarm app. [Read: Foursquare’s Swarm Wants to Be Your Travel Journal]
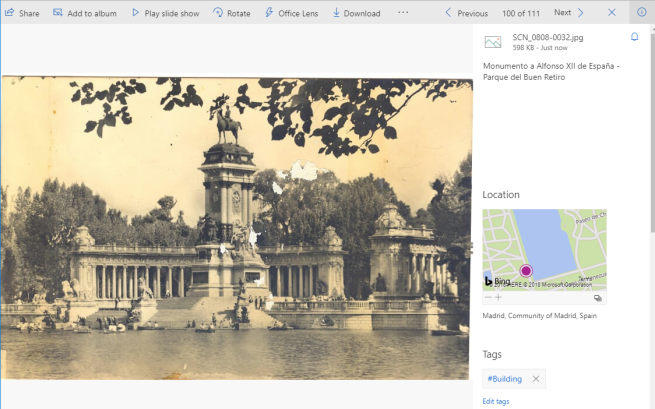
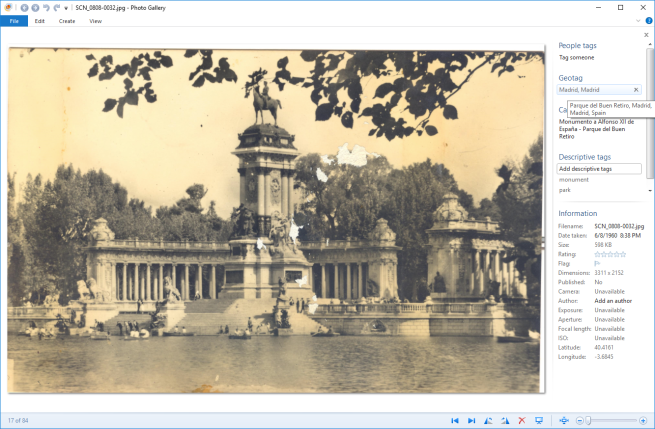
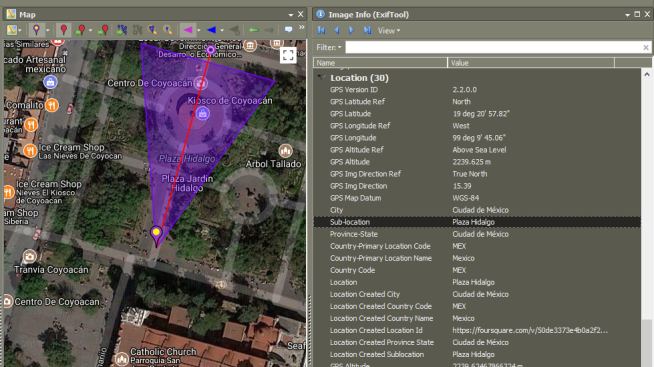
Post editing the photos at home after the trip, I added to the photo metadata the names of the places visited to the corresponding IPTC location metadata fields using the desktop app Geosetter. You can see the image metadata of an image taken on the trip here as an example.
Here is where your Foursquare check-ins come in handy, as you can use them to add missing location metadata using Geosetter.
To add Foursquare Swarm Check-in Location names to your photo metadata:
1. Export your Swarm/Foursquare Checkins as a KML file – Foursquare’s Check-in Feeds page will allow you to export your Swarm checkins to a KML file. Just right click on your private kml feed link and save the file to your desktop.
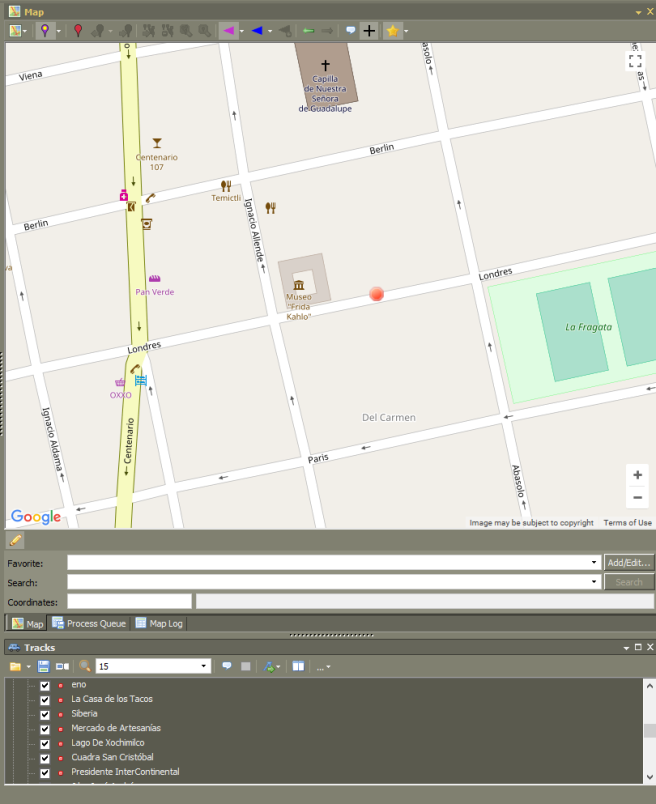
2. Load the KML file into GeoSetter as a track file – Within the GeoSetter desktop application, click on the Tracks section Open file button. If it is not available, click on View -> Tracks, to enable.
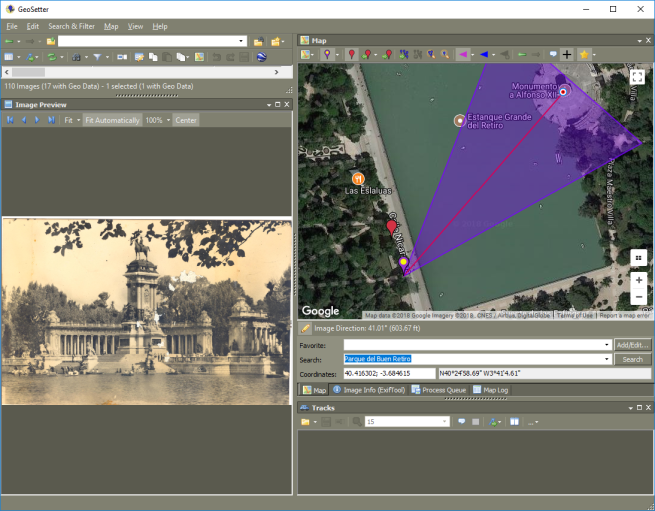
3. The dots which will appear on your map correspond to a check-in location. It may not necessarily be on the exact location but it still provides you with the place name:
4. Select the image files you wish to add the location information and you can manually add it:

I am also experimenting with adding the Foursquare venue urls to certain photos as Location Identifiers. I wrote a post some time ago about Using IPTC location identifiers to link your photos to knowledge bases.